
DIY Chalkboard Wall you can actually do yourself
You’ve probably seen chalkboard paint on Pinterest, but you’ve also probably always thought, there’s no way I can actually do that. Well I promise you, if I can do this, so can you! You don’t have to be an artist or all that handy to make your dream chalkboard wall.

We decided to build this chalkboard wall for my mom since she’ll be teaching her 8th grade class from home and wanted to create a fun teaching space. We started with the farmhouse office in their house near the farm. It needed some loving anyways, so what better time than now! Whether it be in a home classroom or office, playroom for kids to get creative with, above your desk to keep track of your to-do list, or in a kitchen, this simple guide to your home chalkboard wall. But, before you do that, here's what you should know:
Shopping List


Step-by-step guide to your DIY Chalkboard Wall
Make sure your wall is smooth.
If your wall has texture to it like ours did, you’re going to want to sand it a bit. The more texture your wall has, the more difficult it's going to be to use the chalkboard. Make sure the texture of the wall you want to cover is as smooth as possible, and if it's not, grab some sandpaper to smooth out the surface. Our wall wasn’t too bad, so I did one layer of hand sanding with 150 grit sand paper.

Prime it up.
You’re going to need to prime the wall before making it a chalkboard so its more durable. Make sure to remove all of your outlet covers and tape off all of your edges. After speaking with the nice paint lady at Home Depot, we purchased KILZ All Purpose Interior/Exterior Primer, Sealer and Stain Blocker. You will also need paint supplies if you don’t already have it. We used 2 of these kits because it was simple and inexpensive.

Now for the fun part!
We used this Rust-oleum chalkboard paint. You will need several coats, so we bought 3 cans. The more coats, the more cohesive the color of the chalkboard will look. So make sure to have enough paint for two to five coats. We ended up needing 5 coats! Most of what I’ve read said between 2-4 coats but it depends on the surface you're covering and how smooth the surface is.
Don’t let the 1st coat discourage you…
I always have a minor panic attack after the first coat of any project, but trust me. It will get better after a few coats of paint!

1st Coat

2nd Coat

5th Coat
Let it sit
Resist the urge to draw on it right away, because chalkpaint needs to dry for a few days before you use it. We waited a week, but I’ve seen people move to the next step in 3 days - better safe than sorry! Keep on resisting, and hide the chalk from the kids!
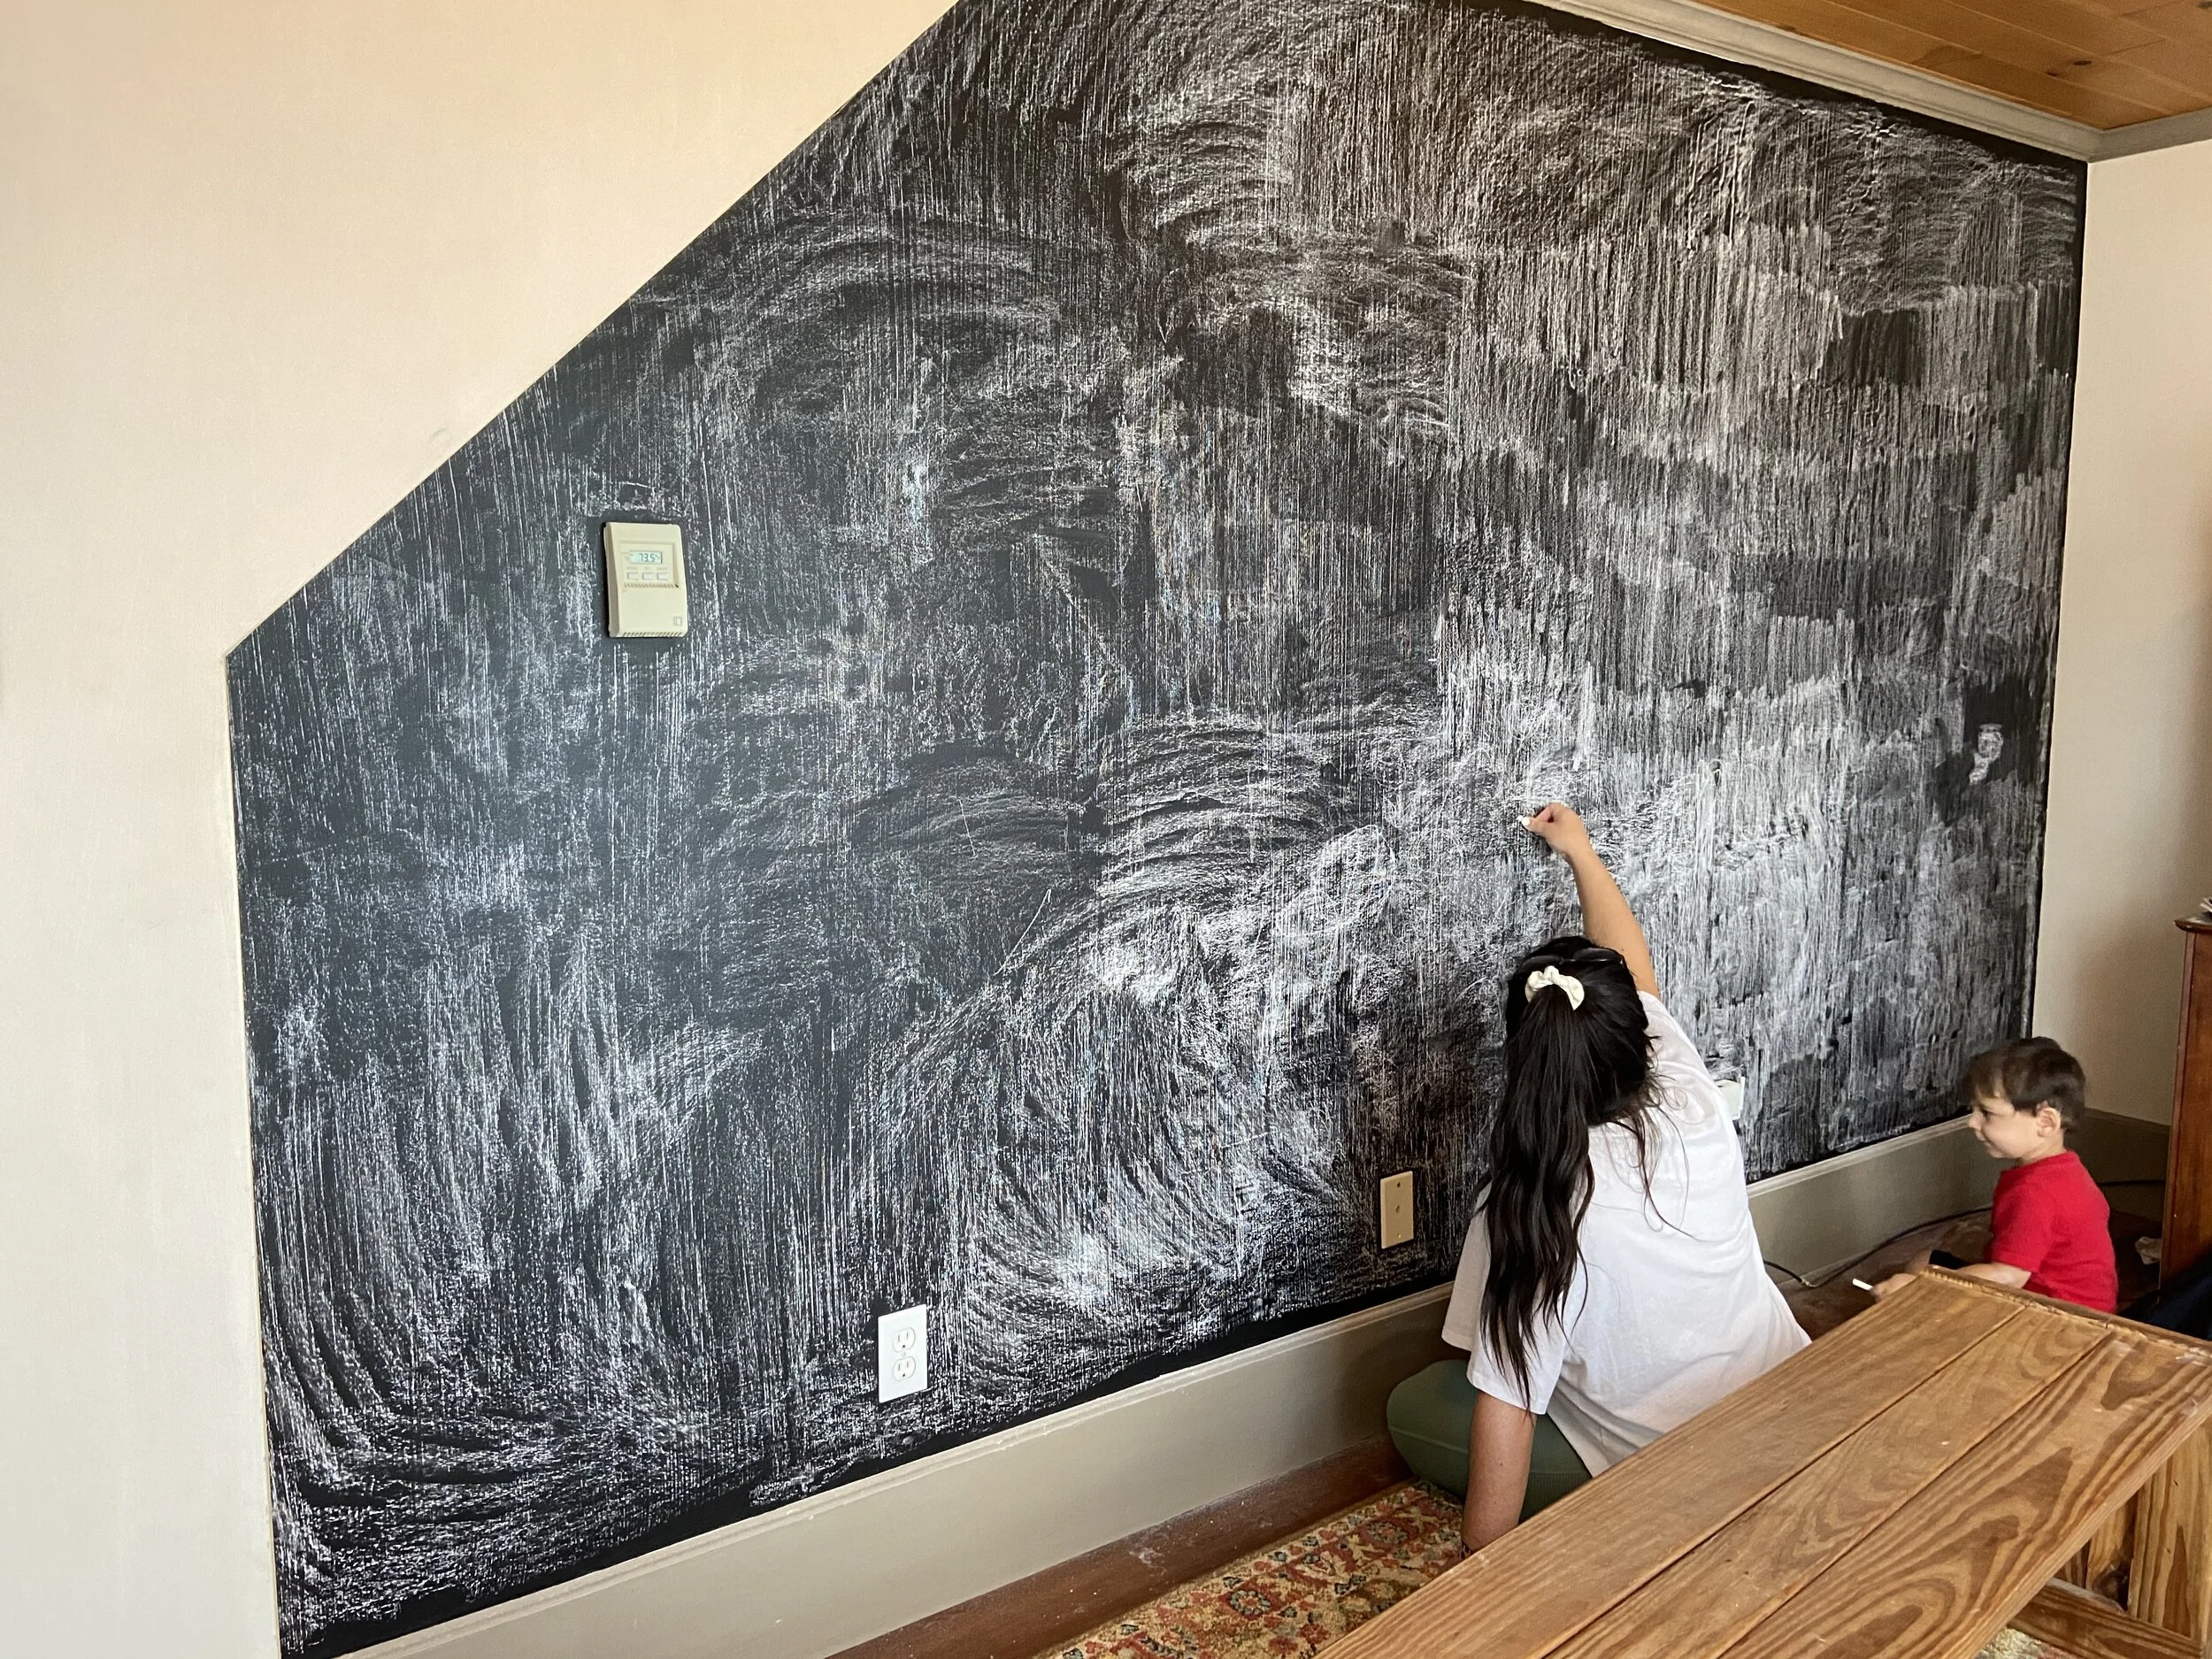
Prime it with chalk.
This step is the most important. In order to prevent what’s called “ghosting,” you will need to prime your chalkboard before use. 👻Ghosting is when you draw something directly on the board, go to erase it, yet it still shows on the board. Trust me, I’ve personally experienced ghosting on a chalkboard at home, and it will not come off even with soapy water. So unless you want to paint again, make sure tot prime!
To prime the board, hold the chalk on the long end, and rub it over to entire board. This part is the least fun - we used small chalk, but thicker chalk may have been helpful. I would still recommend something better than sidewalk chalk. We used this dustless chalk, which isn’t completely dustless, but is noticeably better than sidewalk chalk and what I remember from school. It also came with a really nice washable eraser, so I would definitely recommend this set!
Once you’ve primed the wall and its all covered, go ahead and erase it! It should appear a little chalky everywhere, but that’s okay. Remember, you’re preventing the dreaded ghosting effect.
Channel your Inner Artist
Once you’ve primed the wall and its all covered, go ahead and erase it. It should appear a little chalky everywhere, but that’s okay. Remember, you’re preventing the dreaded ghosting effect 👻. Now you’re ready for the best part, creating a mural! Get busy creating your masterpiece.


This really turned into such a perfect home classroom for my mom.
My mom wanted the original black look of the board from before we primed it, so once we completed the mural for her classroom, we washed the rest of the board with a dam washcloth. Be careful when washing your board with water - if you have too much of don’t wash evenly, you’ll end up with chalk residue in areas where you change direction or stop. We took the damp towel from ceiling to floor in one stroke - and when I say we, I mean Mike who is 6’3” and can reach from floor to ceiling 😂.

Enjoy!
Last but not least, have fun with this DIY chalkboard wall :) If you have any questions at all, leave a comment below or shoot me an email to athomewithhil@gmail.com. You can follow me on Instagram and Pinterest for more DIY projects and home decor fun! You can also Follow me on the LiketoKnowIt App for links to all of my DIY materials, home decor and furniture!